
Need some help with accessiBe?
Find your answers here!
Install accessWidget on your Webflow website using custom code to help make your website accessible and compliant.
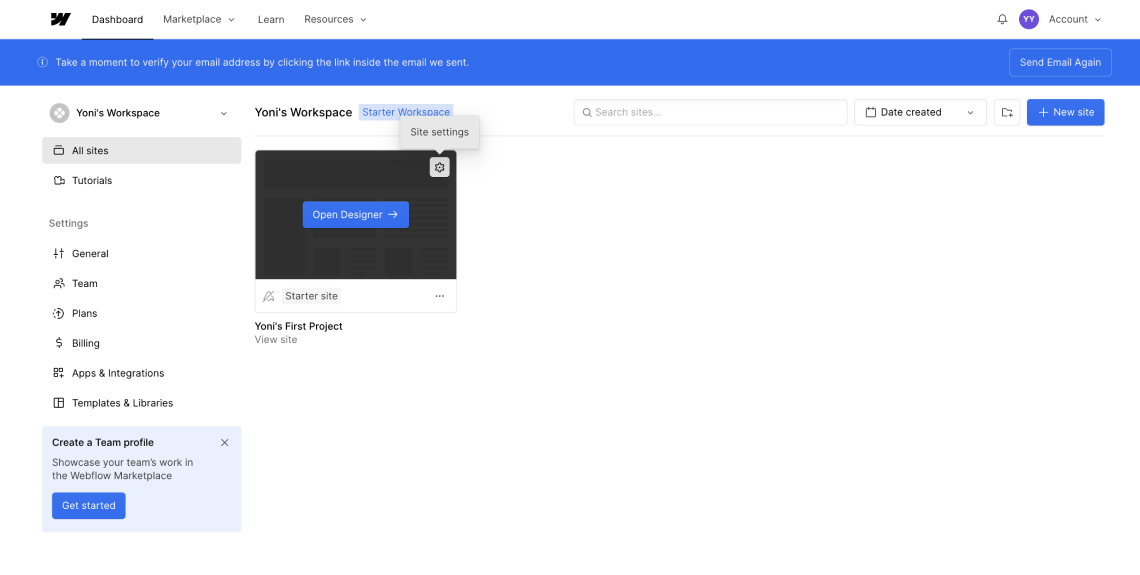
1.In your dashboard, click Settings on the website you want to install acccessWidget.
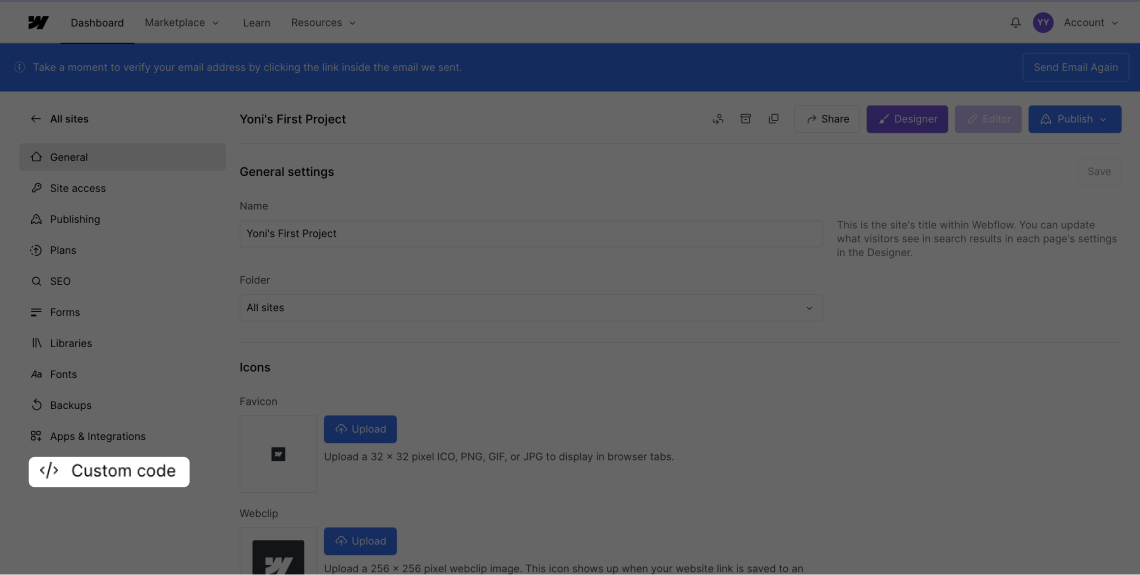
2. Go to Custom Code.
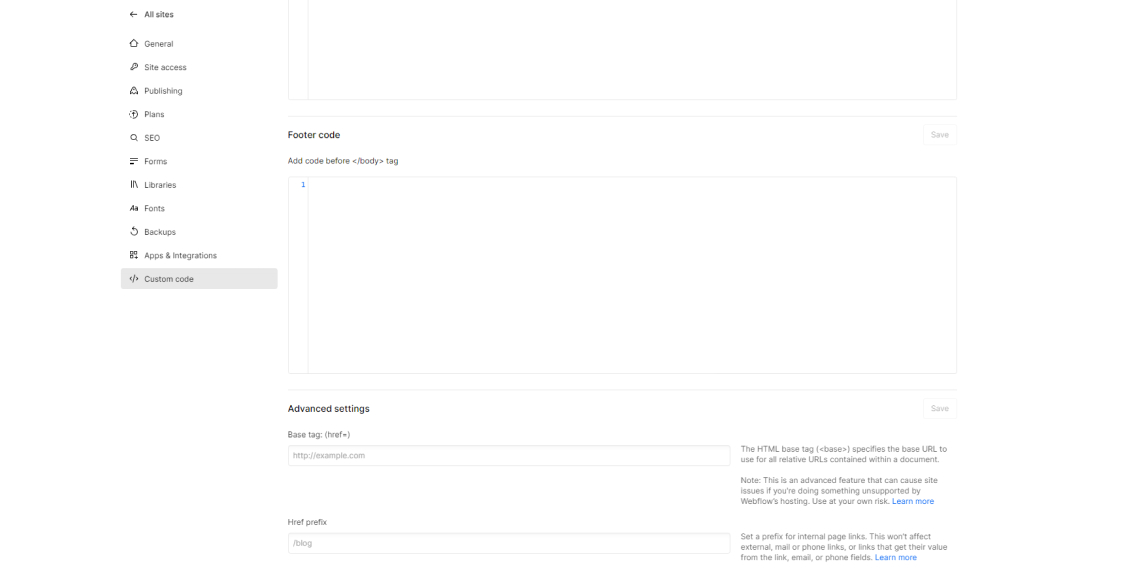
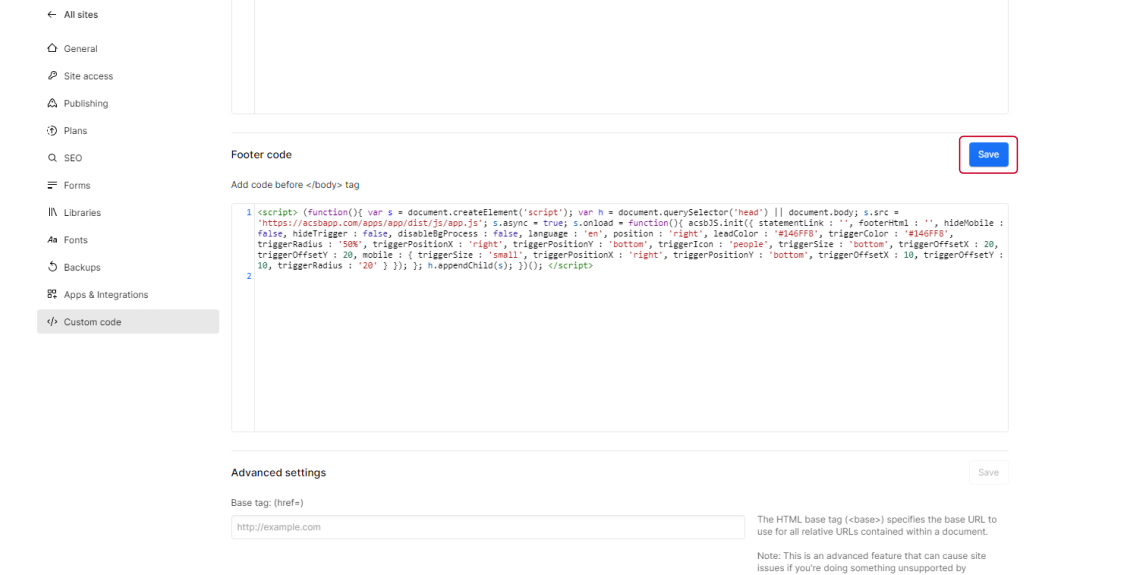
3. Scroll down to Footer Code and paste the installation code that you received from us when you registered your site for our service in the text box. If you do not have an installation code go to your accessiBe account, click Installation and copy the installation code. You can also customize your widget to match your brand's design in the Customized Installation section.
4. Click Save and publish your site for the changes to take effect.
Good work! You've installed accessWidget, making your site accessible.