
Need some help with accessiBe?
Find your answers here!
Install accessWidget on your WordPress site using a plguin and help make your store accessible and compliant.
To install the accessWidget plugin on your Wordpress site
1. Log into your site management.
2. On the main menu go to Plugins > Add New.
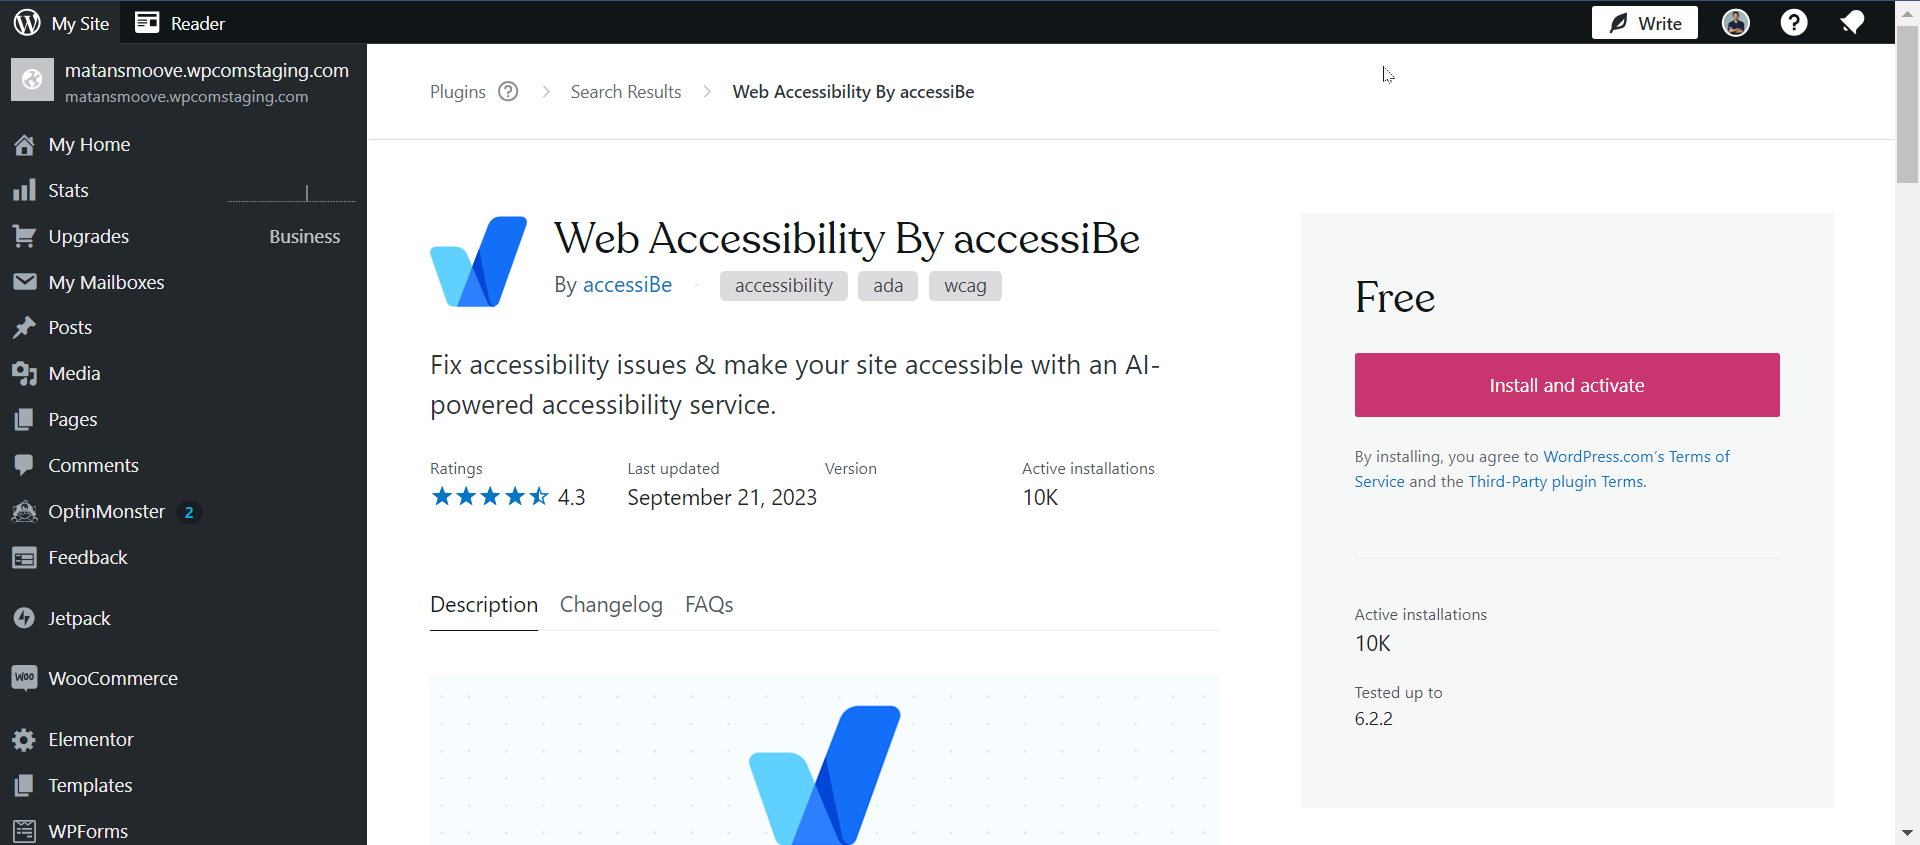
3. In the search bar enter accessiBe.

4. In the Web Accessibility by accessiBe card, click Install and activate.
5. Go to Installed Plugins, select Web accessibility by accessiBe in the list, and click Settings.
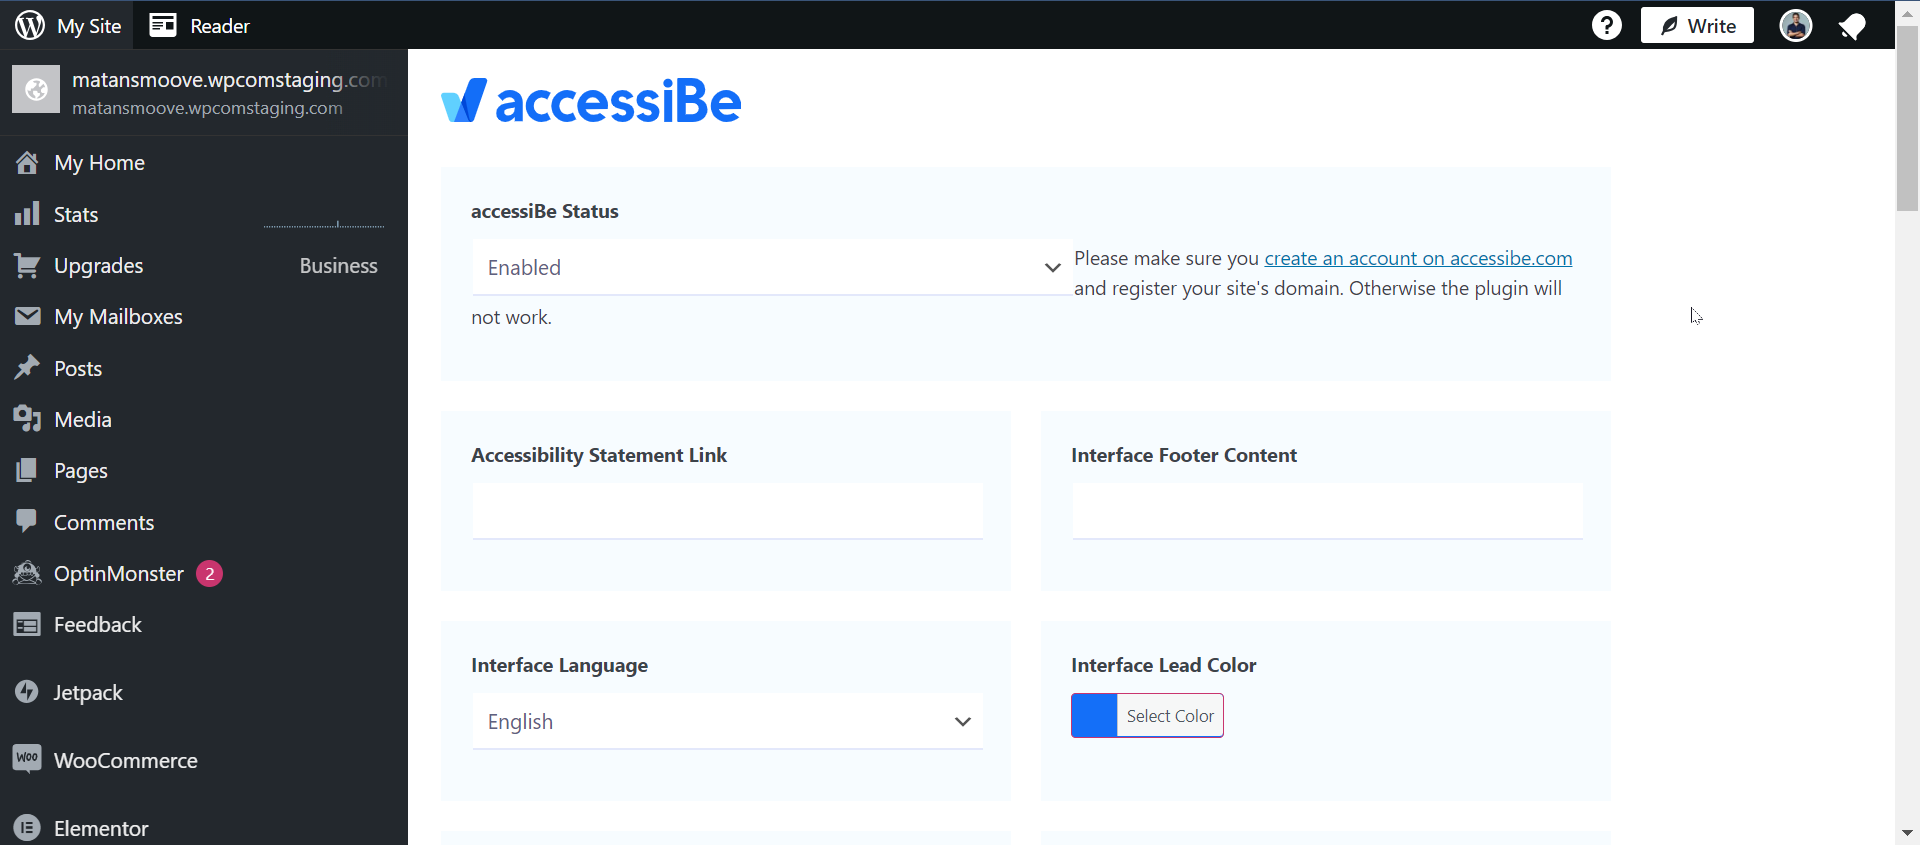
7. You can design the button and customize it as you want it to appear on your site.
8. Scroll down and click Save Changes.
Good work! You've installed accessWidget, making your site accessible.
Note: If you have WordPress performance plugins like Rocket or Perfmatters, ensure they don't alter accessiBe's installation code. By default, they do.
For more information see our Website Onboarding Guide and follow the instructions to ensure proper installation and performance.