Need some help with accessiBe?
Find your answers here!
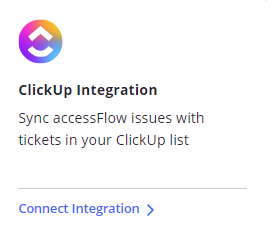
Sync accessFlow issues with tickets in your ClickUp list.
Integrations are available for Business and Enterprise plan customers.
To connect accessFlow to your ClickUp project
A one-time setup is required to connect to ClickUp by an admin user within accessFlow. You must have an existing ClickUp project with a workspace, folder, and list.
1. Go to Integrations and click Connect Integration on the ClickUp card.
The authentication window appears. The next step is to get authentication details from your ClickUp project.
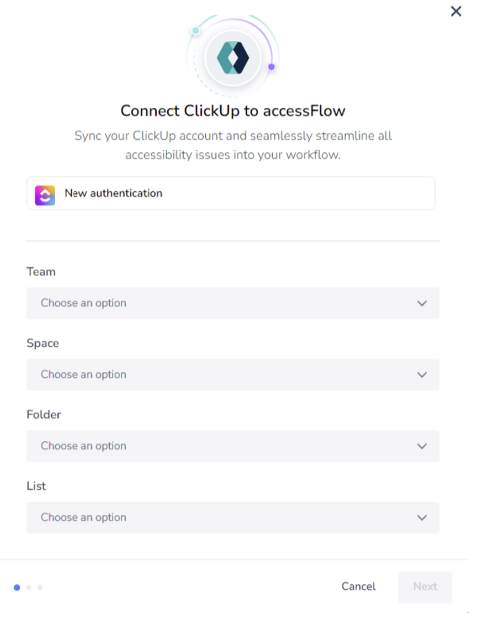
2. Click New authentication.

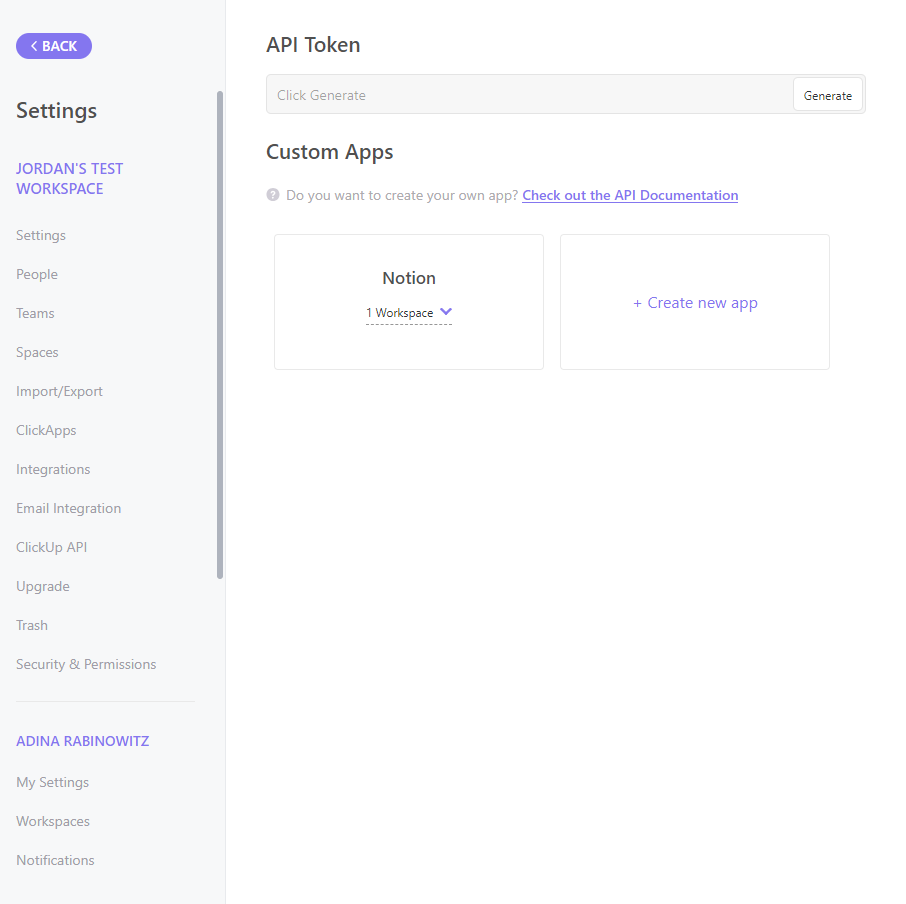
3. Go to your ClickUp space, click your Workspace avatar in the lower left corner, and click Apps.
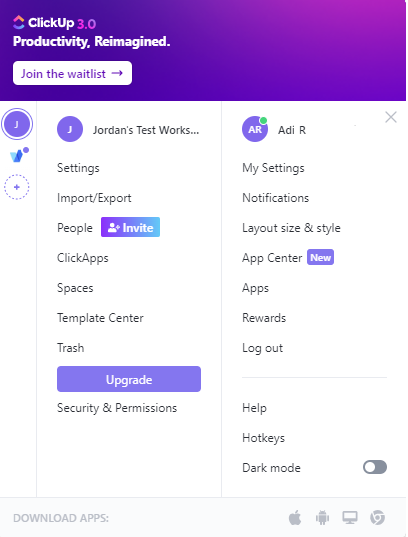
4. Click Create new app.
5. Create a name (for example, accessFlow authentication app) and enter the following in Redirect URL https://auth.tray.io/oauth2/token
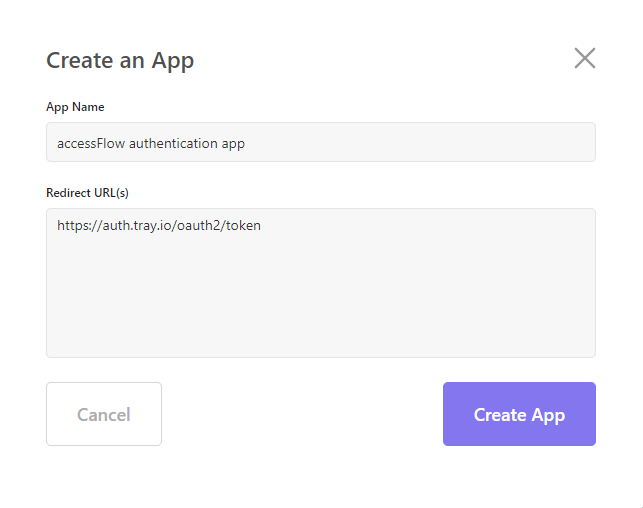
6. Click Create App.
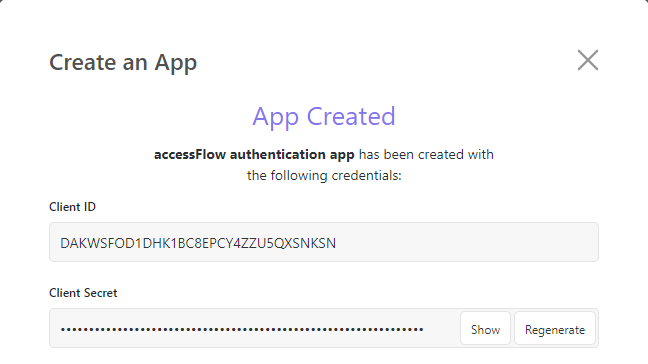
7. Copy the Client ID and Client Secret from ClickUp (click Show to reveal the Client Secret).
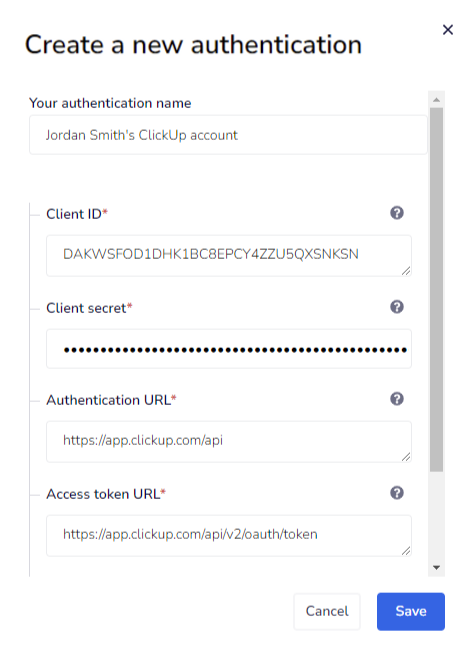
8. Switch back to the accessFlow Create a new authentication window.
9. Paste the Client ID and Client Secret from ClickUp into the corresponding Client ID and Client secret fields in accessFlow.
10. Select your ClickUp workspace to connect to accessFlow.
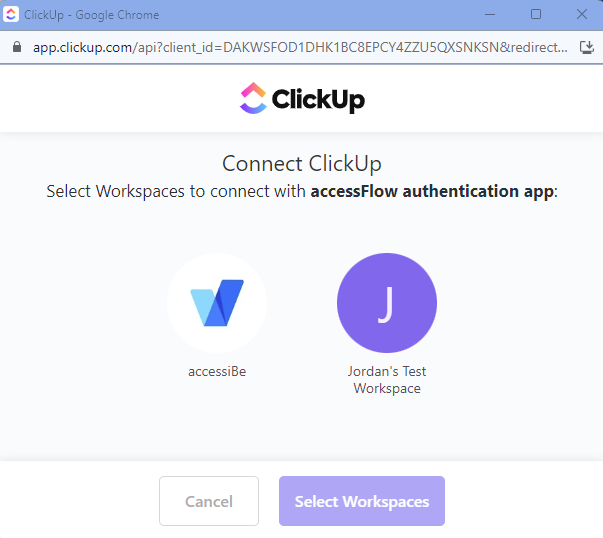
11. Click Select Workspaces.
12. Select the following to connect accessFlow to ClickUp:
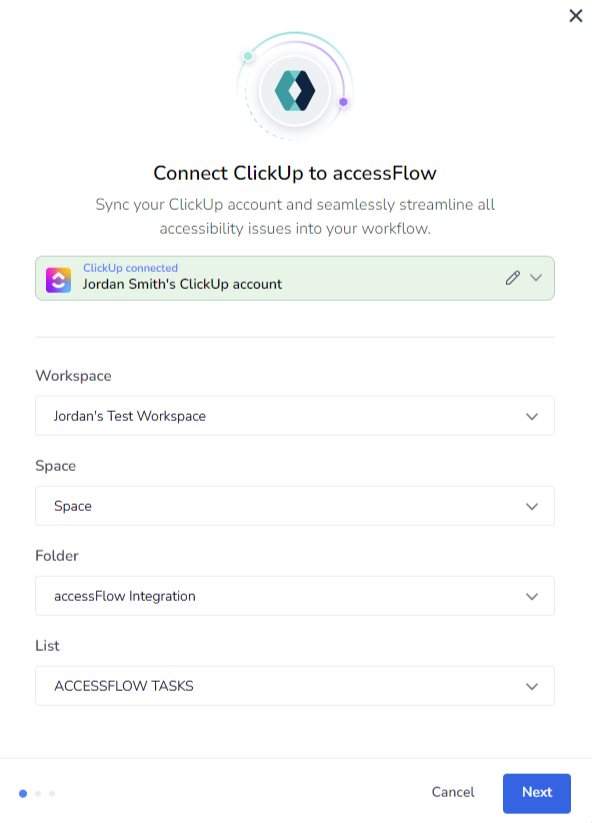
13. Click Next.
14. Map the status in accessFlow with a corresponding status in ClickUp. Each time the status of an issue in ClickUp is changed, the corresponding status in accessFlow is updated.
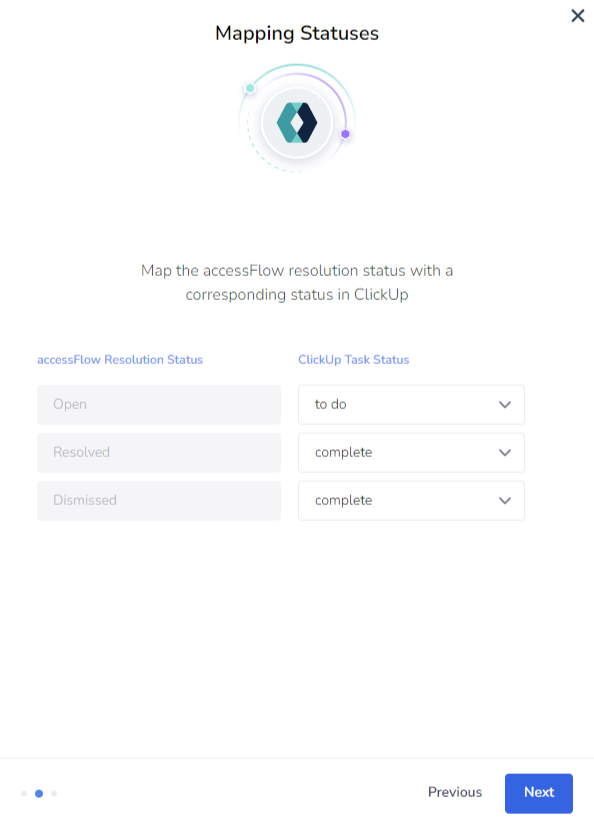
15. Click Next.
16. Copy the webhook public URL. This will be used to create a webhook to connect accessFlow to your ClickUp workspace.
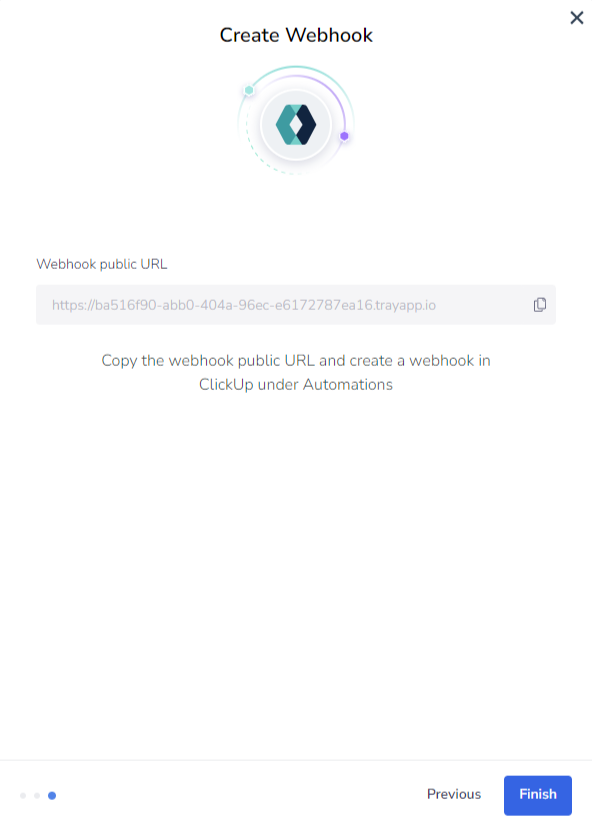
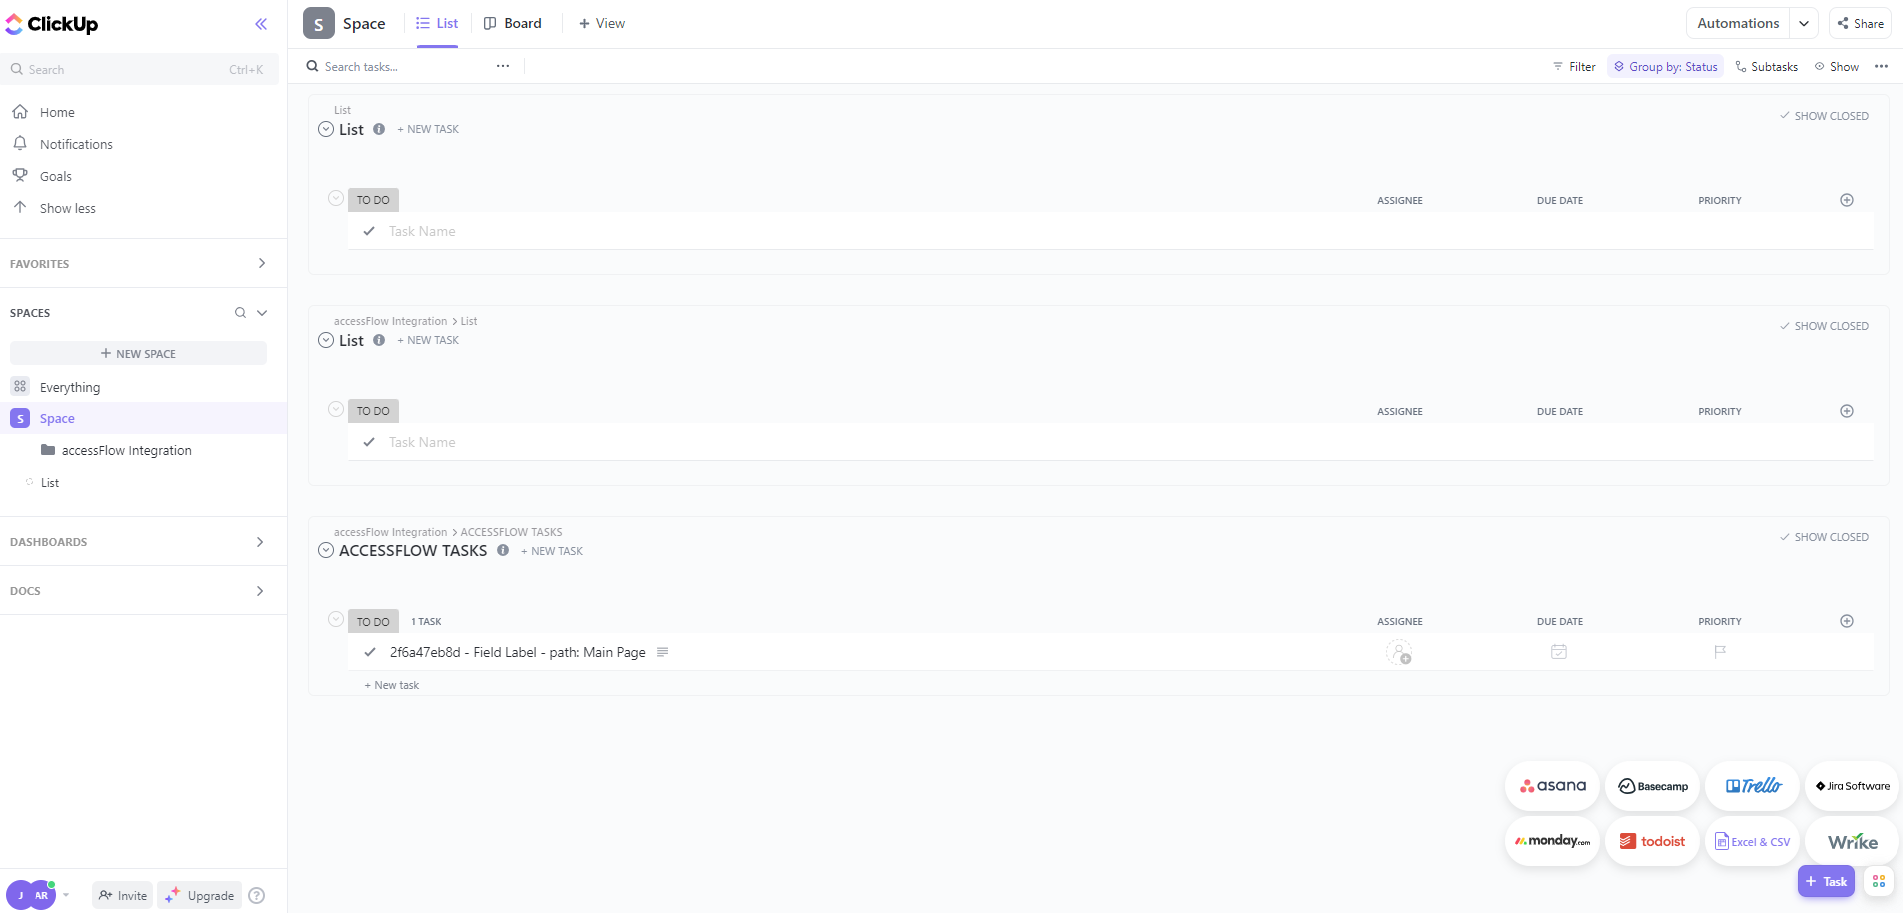
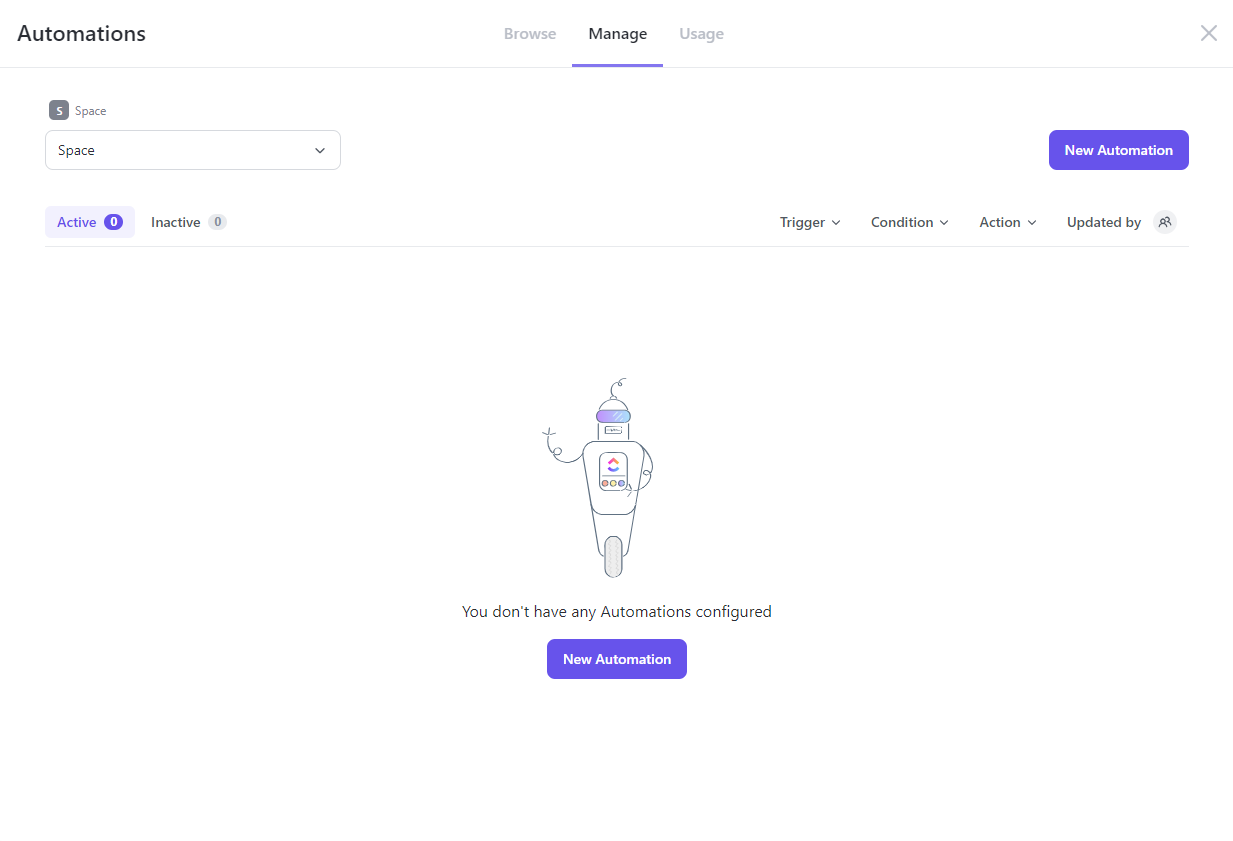
17. Go to your ClickUp List for accessFlow issues, and click Automations in the top right menu.
18. Click New Automation.
Note: If you make changes to your ClickUp list, you will need to create a new automation.
19. Click the down arrow in the right pane under Then and select Call webhook.
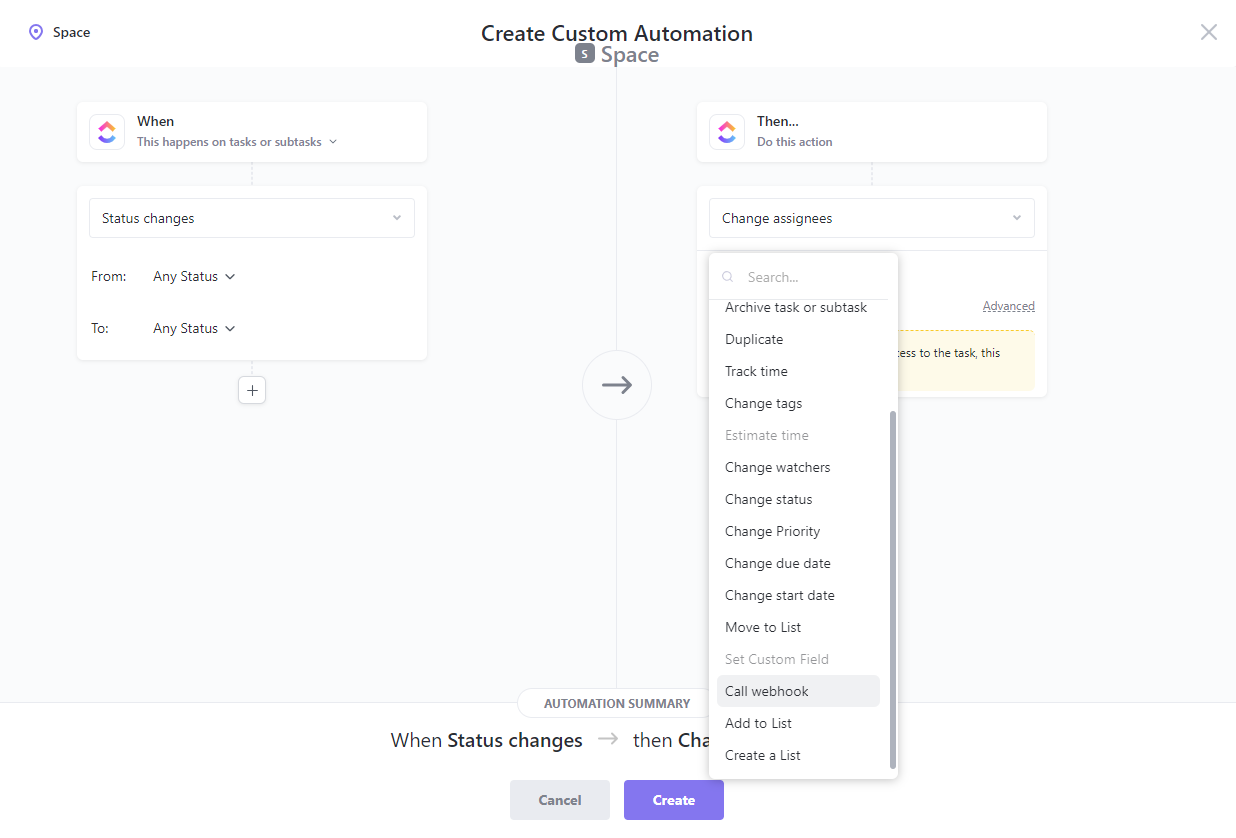
21. Click Create.
22. Go to accessFlow and click Finish.
Your ClickUp project is now synced to accessFlow.
You may want to change the ClickUp workspace, space, folder or list for exporting issues or the type of issue to create in ClickUp.
To update the connection settings
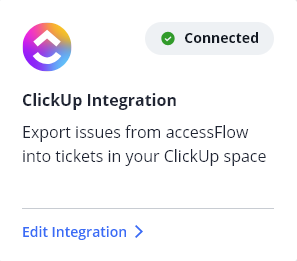
1. Go to Integrations and click Edit Integration on the ClickUp card.
2. Select another ClickUp workspace and/or the type of issue to export.
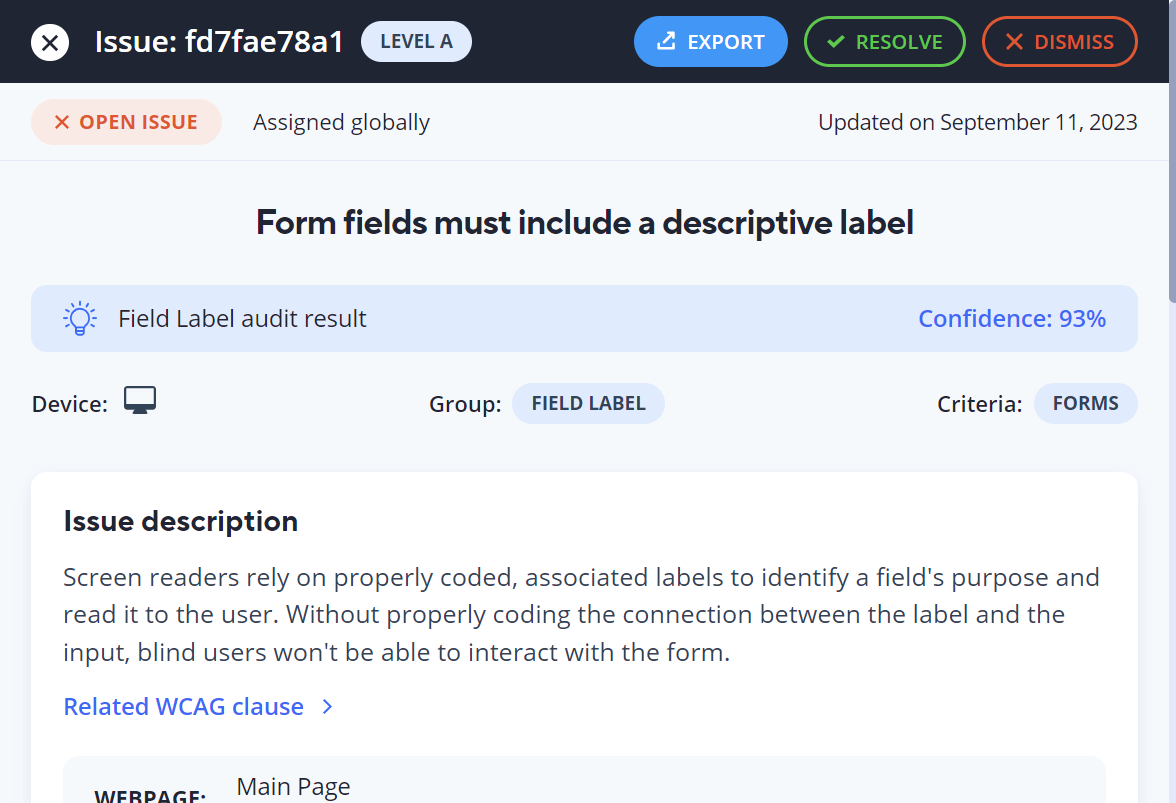
Export an issue from accessFlow into a ticket in your ClickUp project.
To export an issue